

Creating a New Deposit
Now that we’ve walked through the Understanding Deposits let’s take a look at how we create one.
We will first navigate to the Deposits page (Contributions>Deposit).
At the top, on the Page Menu, find the +Add button.

Clicking that button will open the Create Deposit window.
There are a few options when creating a Deposit. The first will be the Payment Methods drop-down. The default selection will be “All”. If you would only like to deposit a select payment method, click on the Search button to the right of the drop-down menu. This will allow you to select which of your payment options you would like to include in the new Deposit.
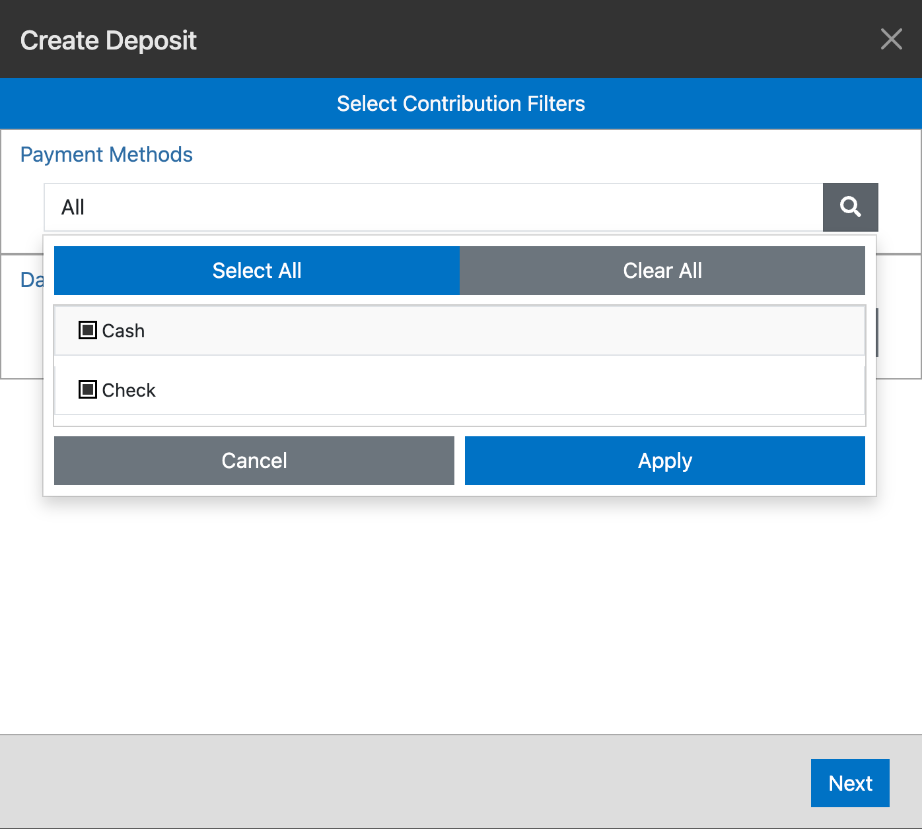
For our example, we are going to leave “All” Selected.
Next, select the date range of the Contributions that you would like to include.
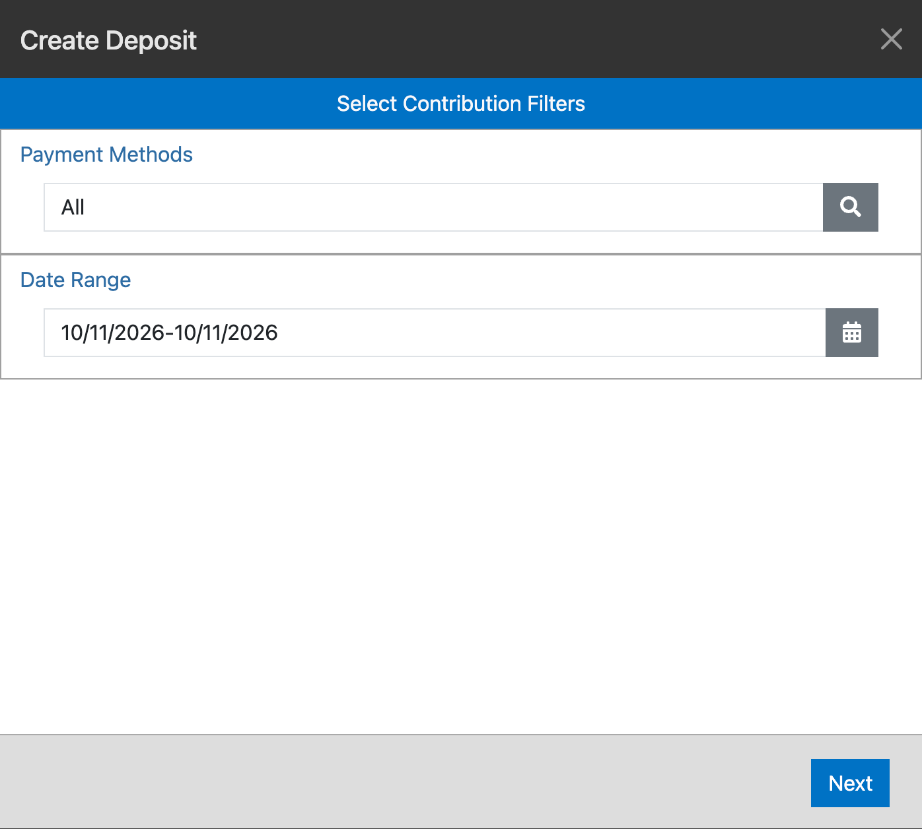
Having selected your date range from the calendar, click Next.
The next screen will allow you to choose all of the Contributions that have been filtered. To show all undeposited Contributions (instead of those filtered by your date and payment method selection), click on the Show all Undeposited Contributions toggle at the top of the window.
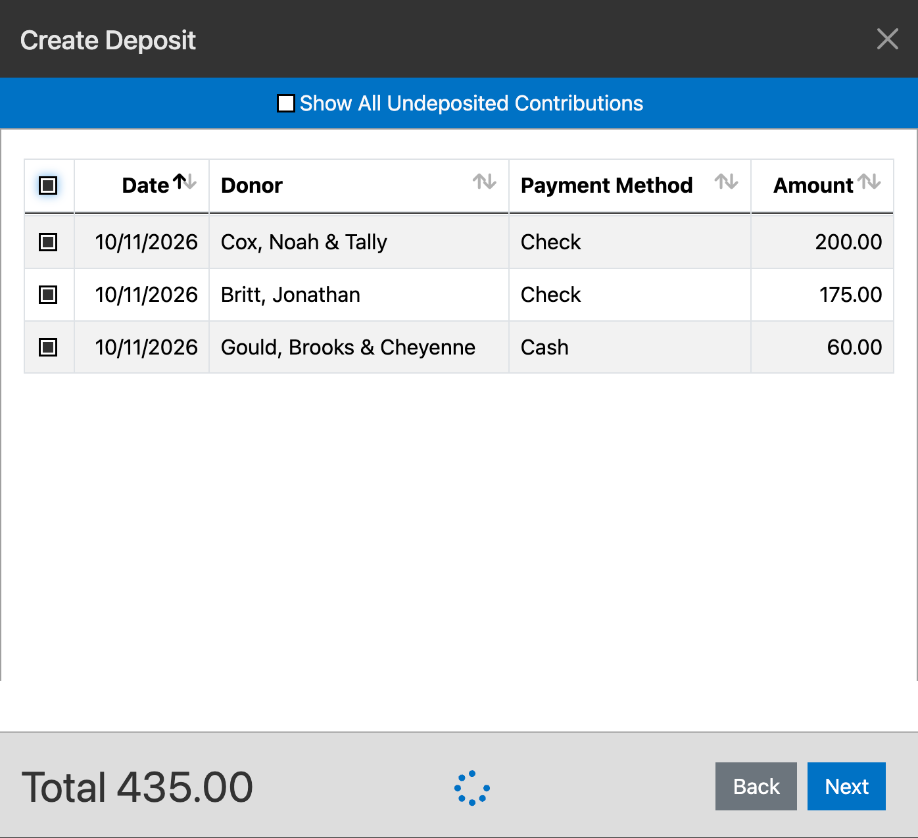
Select the individual Contributions that you would like to include by toggling the radio button to the left of each contribution. To select all of the listed Contributions click on the button in the top-left of the table header.
Your total will be displayed in the footer of the window. If it is correct, click Next.
Next, you will verify that your Deposit Date is correct. This will default to today’s date. If you need to pre-date or post-date, make sure it agrees with your accounting and bank entries.
Lastly, if applicable, you will include the coin count. This is helpful for deposit and accounting information.
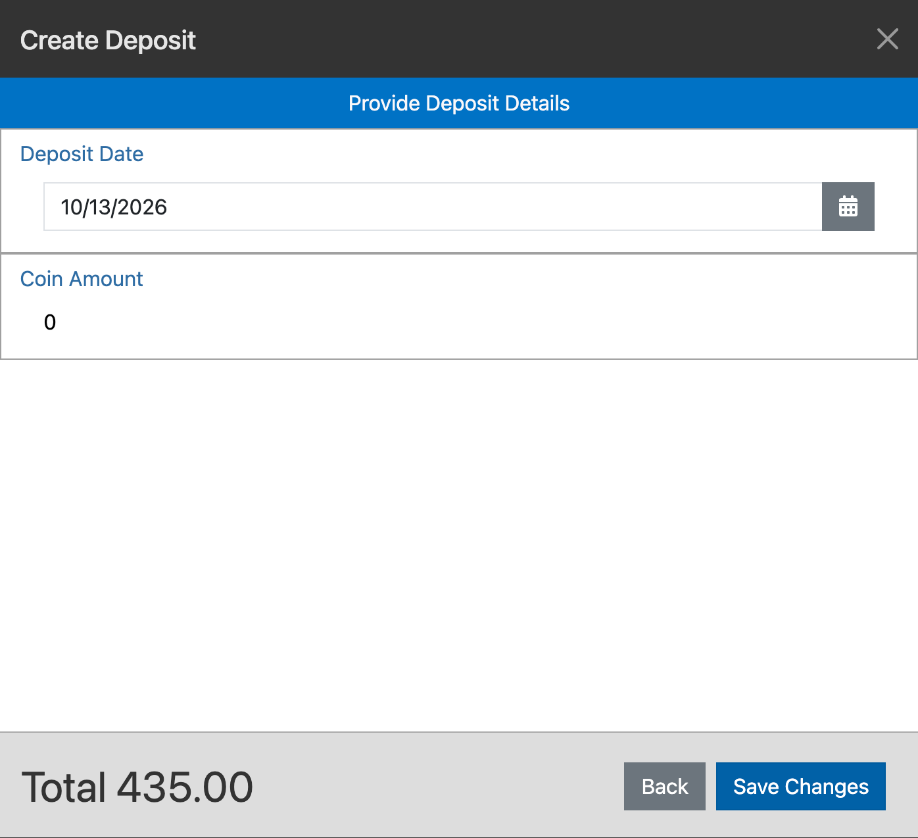
Click Save Changes and you’re done.
The new deposit should now show in the navigation pane on the Deposits page.
Need to share that contribution information?
Information on how to Print Contribution Deposit Information here.
Made a mistake in the Deposit? Let’s look at How to Edit a Contribution Deposit here.