Using the Advanced Filter / Search
The Advanced Search tool will make using Empower the most productive part of your day!
Let’s take just a moment to look at the Advanced Search Tool, its features, and the ways you can use it in your ministry.
Where you will find the Advanced Search

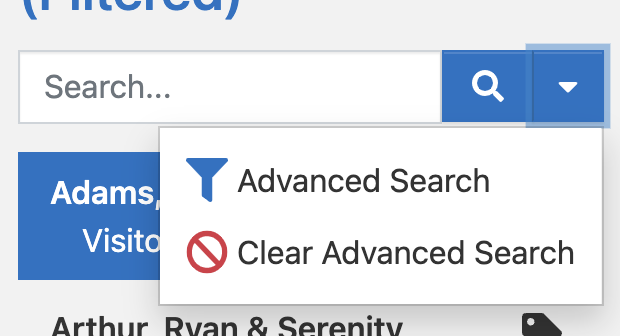
When you have navigated to any of the data pages (Households, People, Events, etc.) the Navigation Pane will be to the left of the page. At the top of that pane is the Navigation Search bar. The Advanced Search is just to the right of that bar. Click the down arrow and the Advanced Search dropdown menu will appear.
Another place you will find the Advanced Search will be in the Mass Messaging tools and the Newsletter tools. When you are sending a mass message, the Advanced Search allows you to filter the recipients using this same tool.
You will also find the Advanced Search option when searching for Donors or looking to filter donors for a report.
The Activities search allows you to use Advanced Search too. Notice that the initial search criteria are always applicable to the data that you are filtering.
For example, Activities’ Advanced Search allows you to search by Activity data sets, not Household, Donor, etcetera. This assures you only get appropriate results.
How the Advanced Search Works
Don’t let the Advanced search intimidate you! It’s Advanced so that you don’t have to be. Let’s break it down to the most simple form.
With each drop-down box, you are creating the criteria by which you search. Each statement creates another rule that acts as a filter to the data you’re searching through.
Let’s look at the Households tab for example:
I want to find all Households that have a Visitor (Person’s Status) living there.
Because the entire Household might not share the same member status, I’m going to search for anyone in the household being a Visitor. I will click each drop-down menu to create a statement that resembles this:
Notice the “# of households found” preview at the bottom of the window. Let’s say we wanted to parr it down a little more.
Maybe we’re putting on a children’s event and only wanted to invite the households with children age twelve and under on file. We’ll click the Add Filter button and create an additional rule to filter.
Notice that this brings our total households down to 84. Clicking the Search button will filter all Households and show only those that your rules apply to in the Navigation Pane on the Households page.
To clear the filters you will click on the drop-down menu again and click “Clear Advanced Search”.
Using Tags to Filter

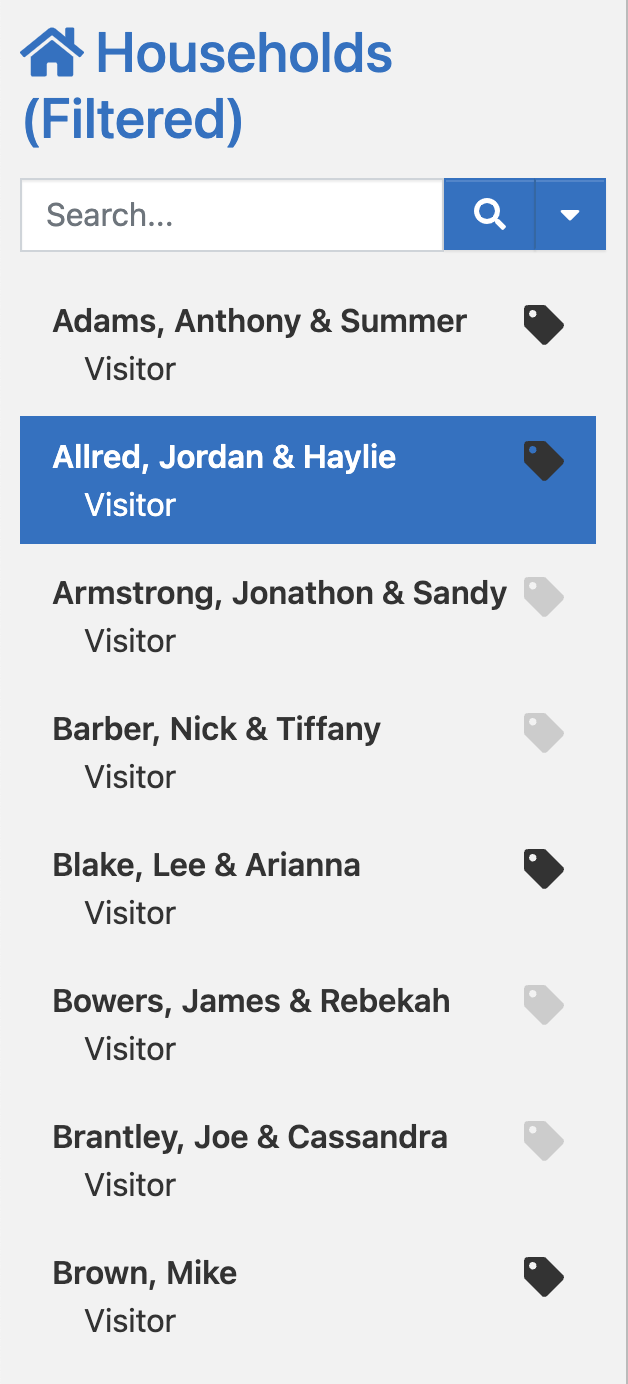
Empower allows you to manually filter names by tagging them. When you are in the Navigation Pane, you will notice a tag next to each name. These tags toggle light and dark when they are clicked. Dark tags show that profile to be selected. If you are looking to manually select multiple names (maybe a filter doesn’t apply) you can toggle the desired names. Let’s walk through an example.
Let’s say from the previous Children’s event list, I wanted to call each Household to personally invite them. Some of them didn’t answer and I would like to call them back. I will tag those households with a dark tag.
We had eight households not answer. Now, let’s filter down to those. Returning to the Advanced Search you will notice your previous rules are still active. We will Add Filter. When the drop-down menu shows, notice there is a search bar at the top. Instead of browsing all of the filters available, we will type “tag” in the search. This will bring up the relative rules.
We selected the “Household is (or is not) tagged” rule and clicked Search. Our Navigation Pane now shows only the eight tagged families.

