Adding a New Event
Are you starting a new worship service? Maybe you’re hosting a church-wide potluck? Make sure it’s on the church calendar! Let’s take a look at adding a new Event.
First, navigate to the Events>List page.
Find the page menu (to the right of the Events List title), click on the +Add Event button.
Clicking the button will open a new window to walk through adding the Event.
(You can also access this same window from the Events>Calendar page. The +Add Event button will be in the top right-hand corner of the detail pane.)
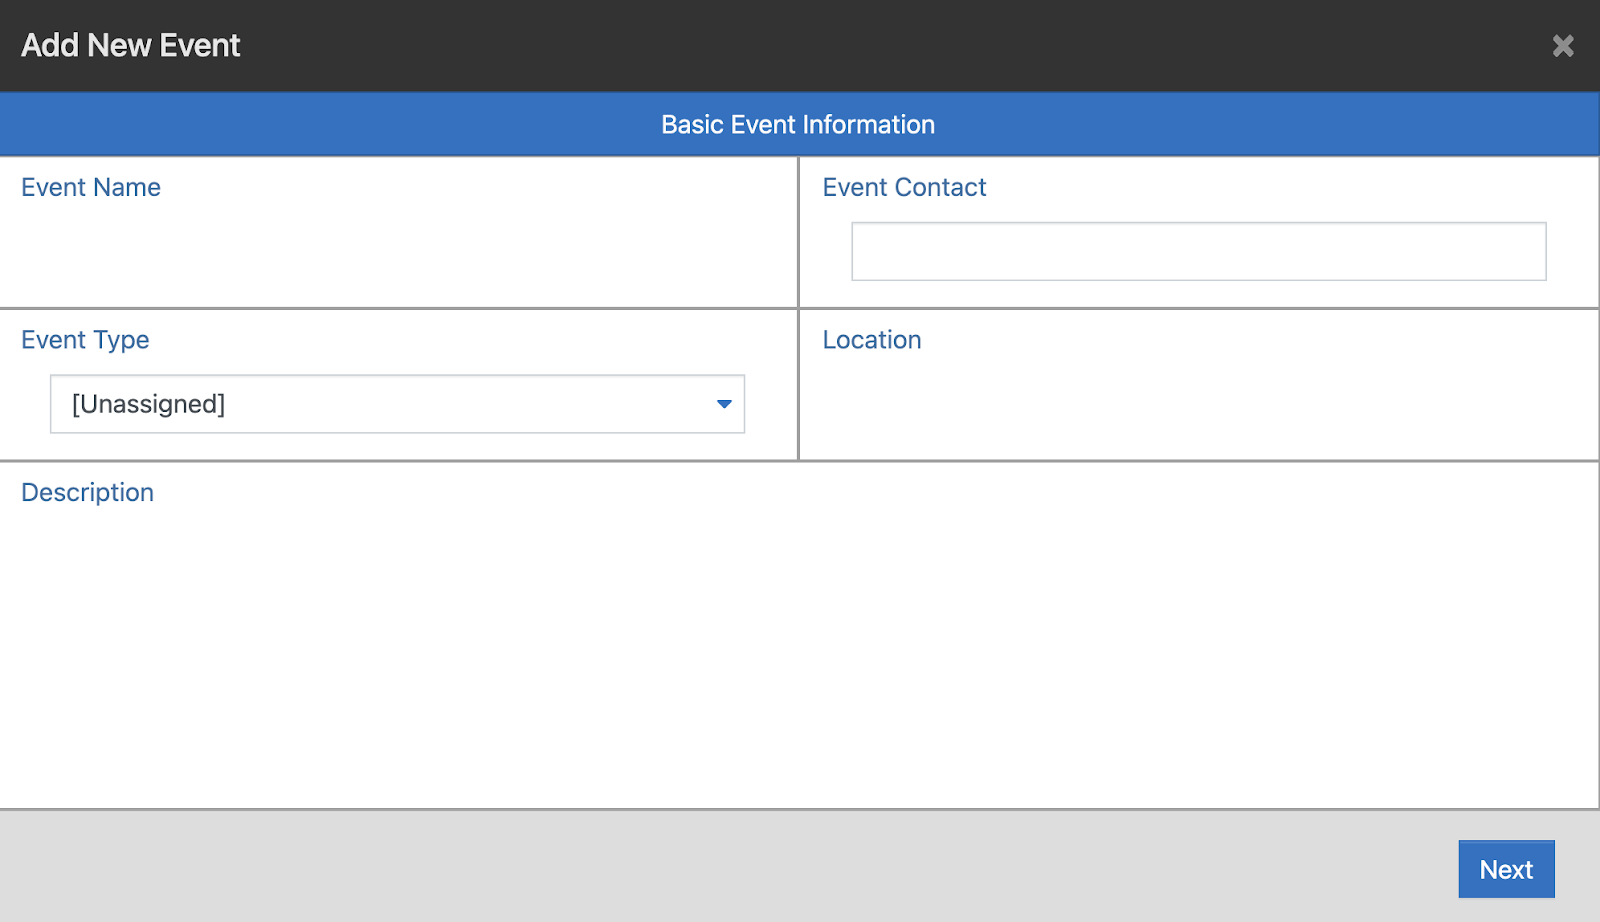
Event Name
The first step in the Add New Event window is to add an Event Name. This will be how the event will be known and displayed.
Event Contact
The Event Contact will be the member that is overseeing the event. Typing a name in the field will automatically search your database and allow you to select the desired person. This field is not required to set up the event and can be edited later.
Event Type
The event type helps distinguish what category of event it will be or what department it might be a part of. The Event Types are editable by navigating to Utilities>Options>Events>Event Types.
Description
The Description is just a spot for a short blurb describing the event.
Once these are complete, click Next.
On the next page, you’ll first be asked about the date and time of the event.
Date and Time
To quickly select the start date and time, click on the calendar icon to the field’s right.
For Single Day events, click on the desired date twice.
For Multi-day events, click on the start day first, and click on the end day second.
For events that do not last all day, be sure also to select the start and end times.
With the correct dates highlighted, click on Apply.
Setup and Tear Down
Empower also allows you to build in time for setup and tear-down of your event environment. This time reminds you how long the event space will be used in total.
Occurrences
To set up a recurring Event, simply click on the Occurrences drop-down menu and select the option that best fits your Event. Events default to One Time, but Empower allows you to set Daily, Weekly, and Monthly events.
Have an event that takes place each Monday and Wednesday? Click on the Weekly option and select the day(s) of the week that the event will reoccur.
Click Next.
The next screen allows you to select the Activities that will be a part of the Event. If the event is a church-wide function, simply leave the box toggled and click next. If not, uncheck the box and select the groups of activities that will be a part of the event. These can be edited later.
Check-In Options
On the next-to-last screen of the Event details, you will be asked about using the CHeck-In tool and printing labels for the event.
When you’ve selected those options, you are ready to click Next and finalize your event.
On the last screen, click Save.
Your Event is now listed.
Don’t forget, if you have any trouble, our Support Team is here to help.