Using the Newsletter Editor
The Newsletter tool is one of the most valuable aspects of Empower. It will enable you to communicate with an unlimited number of people in an unlimited number of ways!
We’ve already walked through the details of Creating a Newsletter.
Now, let’s take a look at how to craft a newsletter using the Newsletter Editor Tool.
Whenever you click Edit Template on a Newsletter that you’ve created, a new window will pop-up and you will be in the editor.
When the editor is launched, your newsletter will be in the left-hand panel and the toolbar will be on the right. What you see on the left will be what will be sent to your recipients.
As you edit, it will be important to remember that people will be reading your newsletter on both desktop and mobile devices. The newsletter tool creates a “responsive” template automatically to ensure that it is easily readable across devices. To view what it will look like, you also have the option to edit the mobile version by changing the view in the bottom left corner.
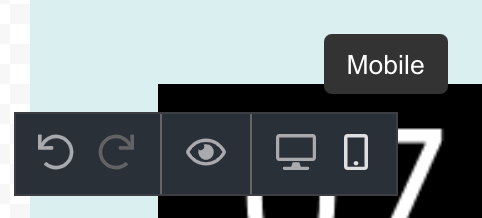
In the same location, you will find the undo button and the preview button.
Content Blocks
Your newsletters will be built by compiling a series of content blocks. These blocks can be stacked, stretched, and organized in unlimited ways.
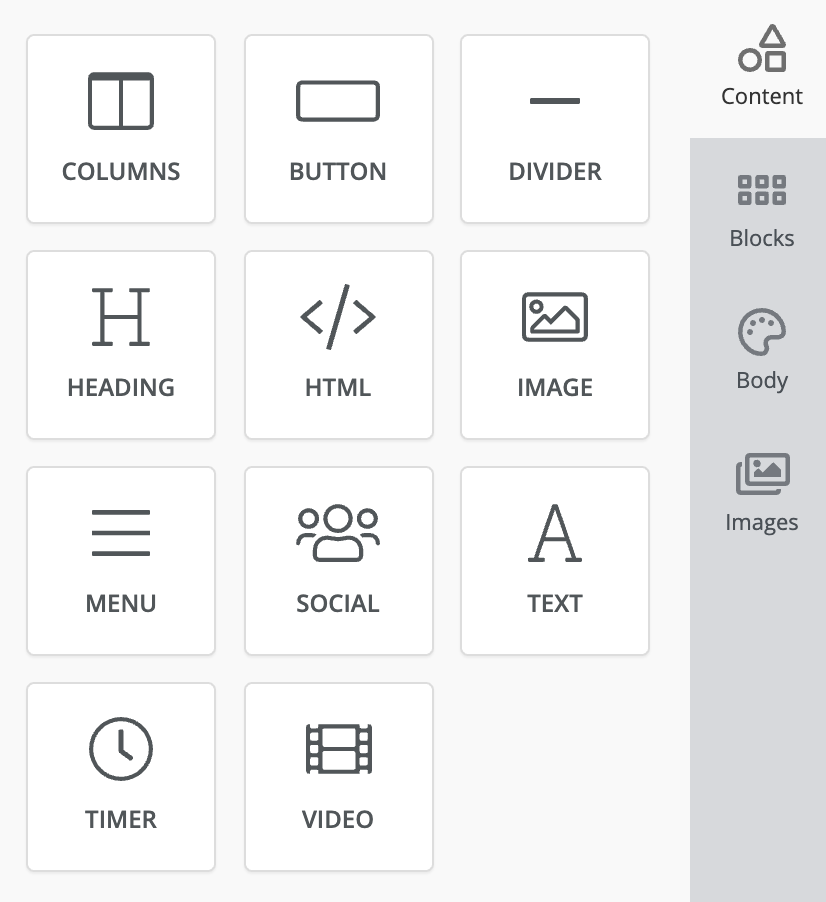
When you first launch the editor the content tab will be open. You will see a number of options to insert content into your newsletter. These include columns, buttons, HTML, images, videos, and more. You can even insert a count-down timer!
Each of these content options will create a new block of content. Simply, click and drag (while clicked) to the desired location on your newsletter.
You can also utilize the content block templates on the Blocks tab located just below the Content tab on the right-hand side of the editor. This allows you to insert multiple columns that are completely editable. You can then drag and drop content into each block.
Each block’s background color and size are completely customizable.
Once you have placed Content, clicking on that block will allow you to fully edit the content and the settings for the block itself.
Body
To edit the body and background of the newsletter, click on the Body tab to the right.
If you are currently editing content you will need to click the ‘X’ at the top right corner of the editor.
These settings will apply to the entire body of content for the newsletter (not just a selected content block).

Images (Stock Photos)
The Empower Newsletter Editor allows you to search and utilize millions of stock images. These images are free and do not require any licensing to include in your newsletters.
Keep in mind that these are not Empower’s images, but are freely accessible through the image host sites and are filtered only by the search terms that you include.
Merge Tags
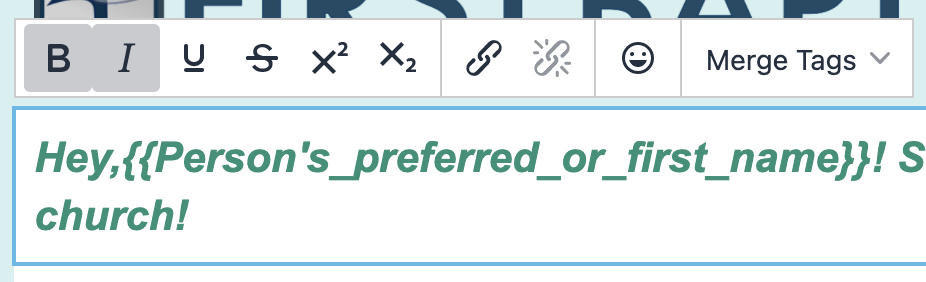
Just like when you’re creating an email, you can use Merge Tags to personalize your Newsletters as well. While editing text, select the Merge Tags drop-down and insert the data field you would like to include. This will automatically insert a name, address, or other data into the message.
The editor will take some practice, but it’s only limited by your willingness and creativity. If you have any issues, don’t hesitate to reach out to our Support Team. Be sure to follow our blog post for inspiration on how to use the Newsletter to reach and communicate with your congregation.